
In this tutorial, I’m going to show how to use find and replace in Google Sheets.
This tutorial goes a bit further than the simple CTRL + F that most people use and love.
I’ve been using the Find and Replace feature from the start but I’ve learned to utilize it to its fullest potential over the years. In this article, I will share my best tips and tricks with you.
How to Use Find and Replace in Google Sheets
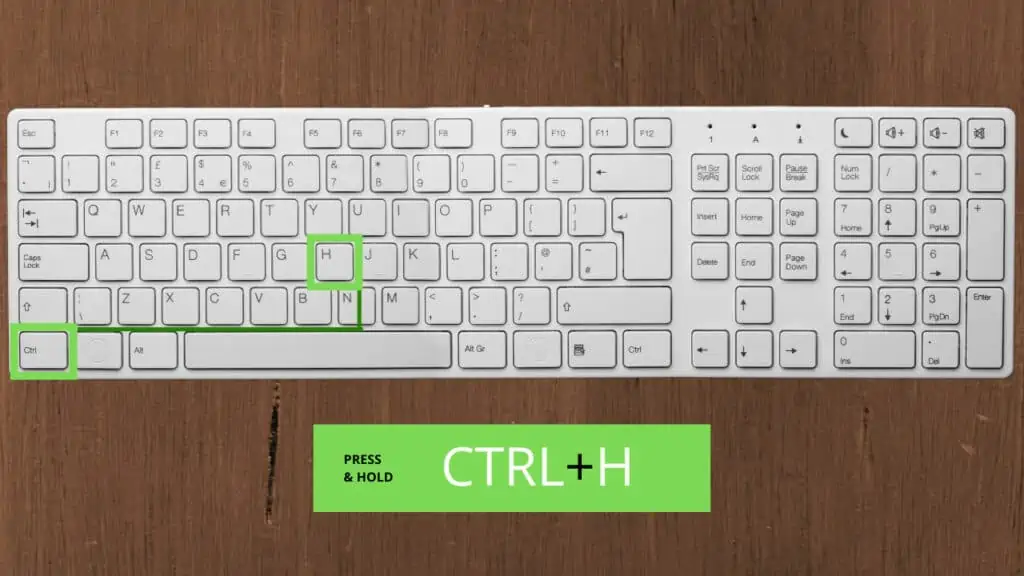
- Use the keyboard shortcut CTRL + H (Windows) or COMMAND + SHIFT + H (Mac)
- Alternativels use the keyboard shortcut CTRL + F (Window) or COMMAND + F (Mac)
- And then go to ‘More options’ by clicking on the vertical ellipsis
Find and Replace in Google Sheets Video Tutorial (Step-By-Step)
3 Ways to Access Find and Replace in Google Sheets
There are at least three ways to access Find and Replace in Google Sheets. I’ve listed them down below for this tutorial.
1. Using the Direct Keyboard Shortcut
The most straightforward way to use ‘Find and replace’ in Google Sheets is by using its direct keyboard shortcut.
For Windows, the shortcut is CTRL + H.
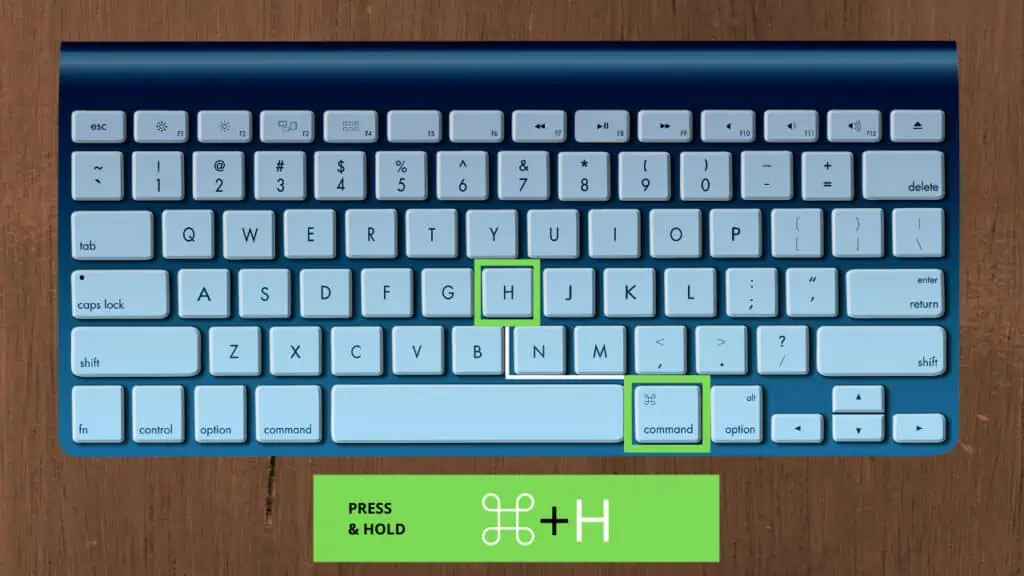
While for Mac, the shortcut is CMD + SHIFT + H.
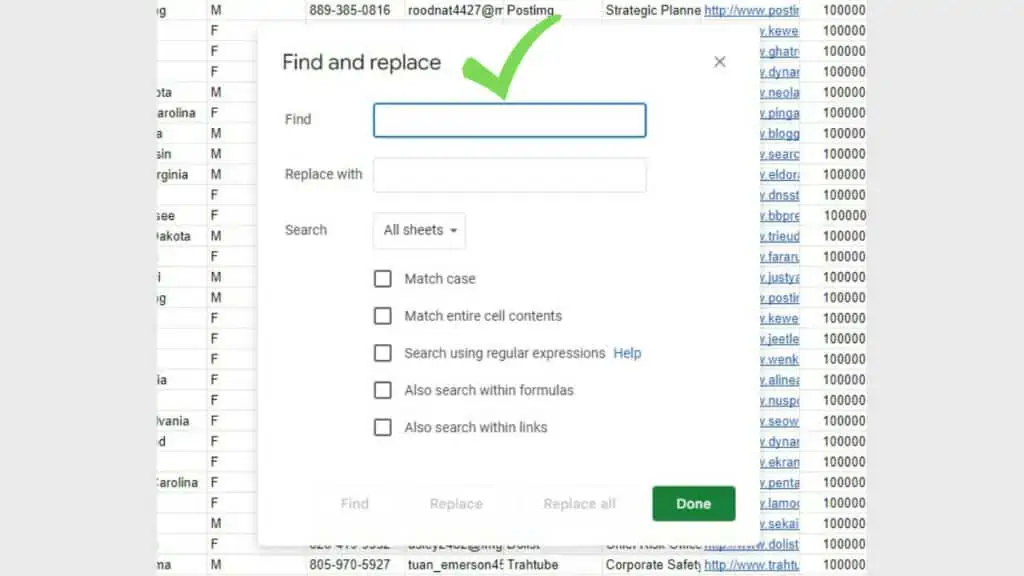
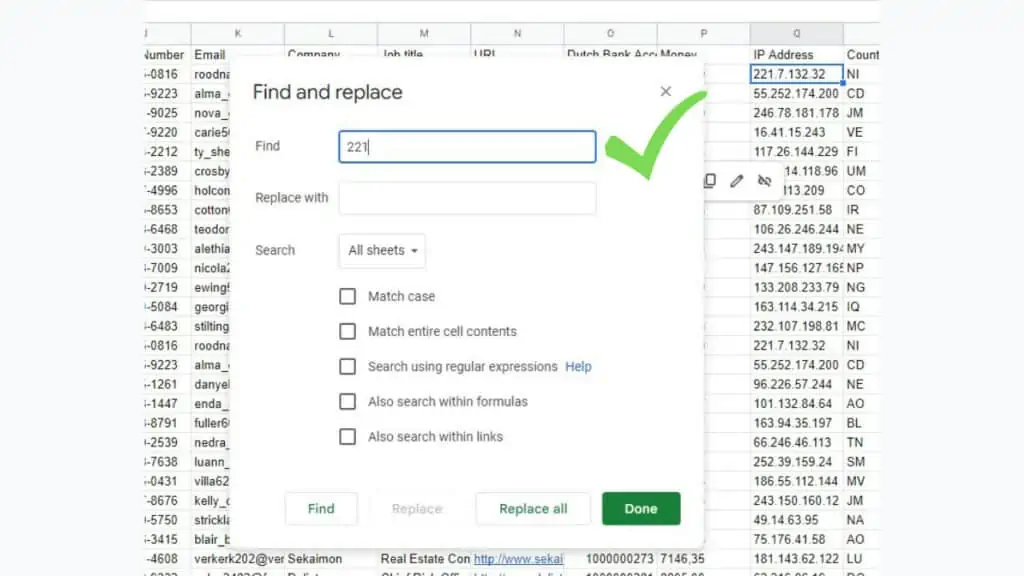
Using either shortcut will immediately give you the ‘Find and replace’ window as seen below.
This is the direct method to access ‘Find and replace’ in Google Sheets. But just in case you forgot about it, there are alternative methods to do so.
2. Through Find (CTRL/CMD + F)
Using the Find feature of Google Sheets and many other applications is quite common knowledge. This helps you make quick searches for certain texts or values in a larger set of data.
To do this for Windows computers, use CTRL + F.
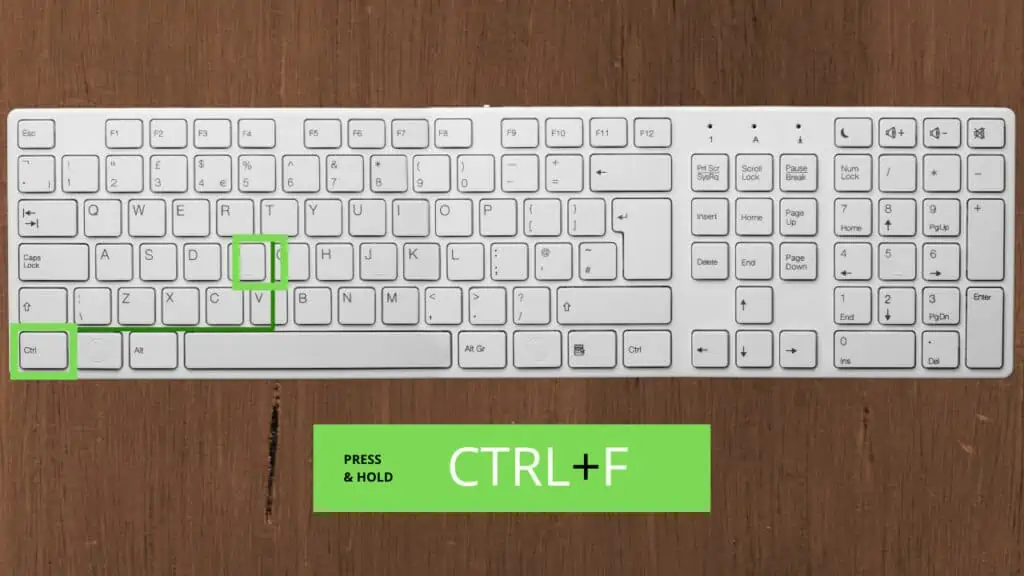
For Mac, use the shortcut CMD + SHIFT + F.

Once you use the shortcut command, a small window will pop up near the upper right corner of your Google Sheets window.
In the Find window, just click on the vertical ellipsis beside the X button.
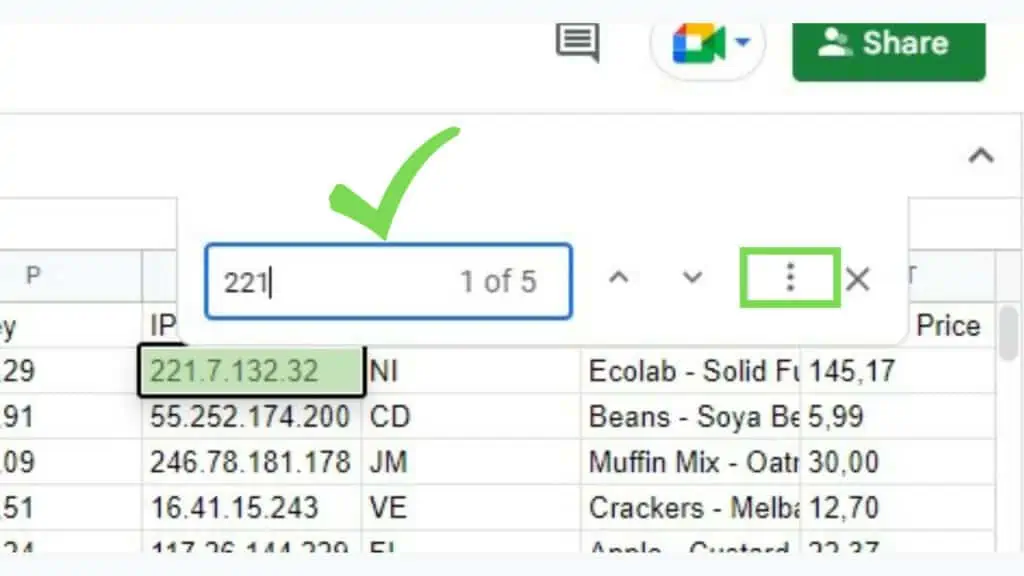
At this time, if you typed in any text or value in the Find field, it will be carried over to ‘Find and replace’.
This may be the most common way users access the ‘Find and replace’ feature of Google Sheets as CTRL/CMD + F is widely used as an everyday tool for searches.
3. Via the Edit Menu
Lastly, you can also access ‘Find and replace’ in Google Sheets through the ‘Edit’ menu.
Go to ‘Edit’ and select ‘Find and replace’.
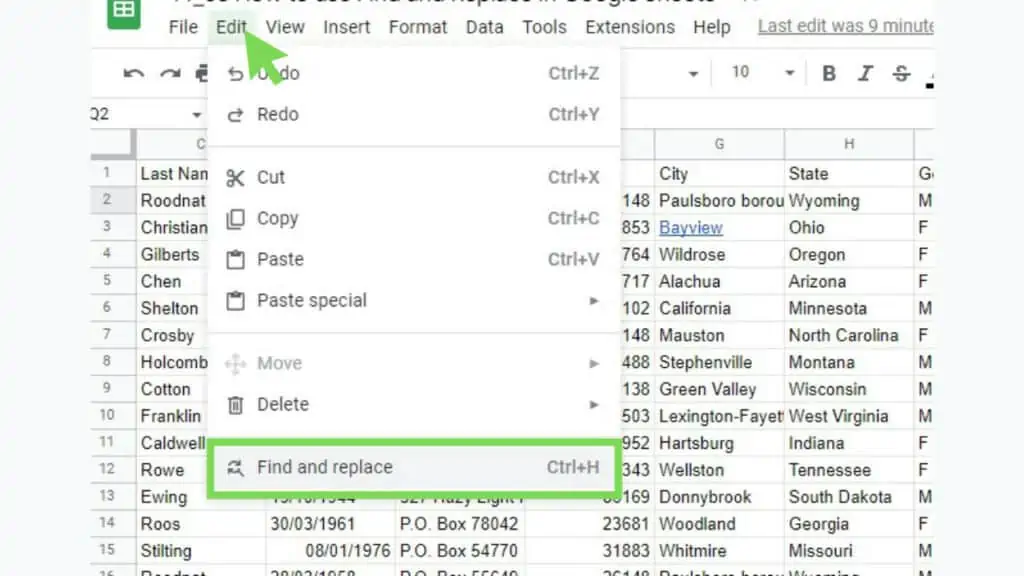
Doing so will instantly give you the ‘Find and replace’ window.

No matter what method you use to open up Find and Replace in Google Sheets, you will almost always get the same thing.
It matters though if you select a specific range or if you type in anything in the Find field as it will modify some sections and options of Find and Replace in Google Sheets.
Sections and Options of Find and Replace in Google Sheets
Now that I’ve shown you how to access Find and Replace in Google Sheets, let me show you how to use it with its different options.
Find, Replace With, and Search Fields
The mandatory fields are ‘Find’, ‘Replace with’ and ‘Search’.
- Find – text or value that you are looking for
- Replace with – text or value that will replace the one in ‘Find’
- Search – where the Find and Replace feature will run
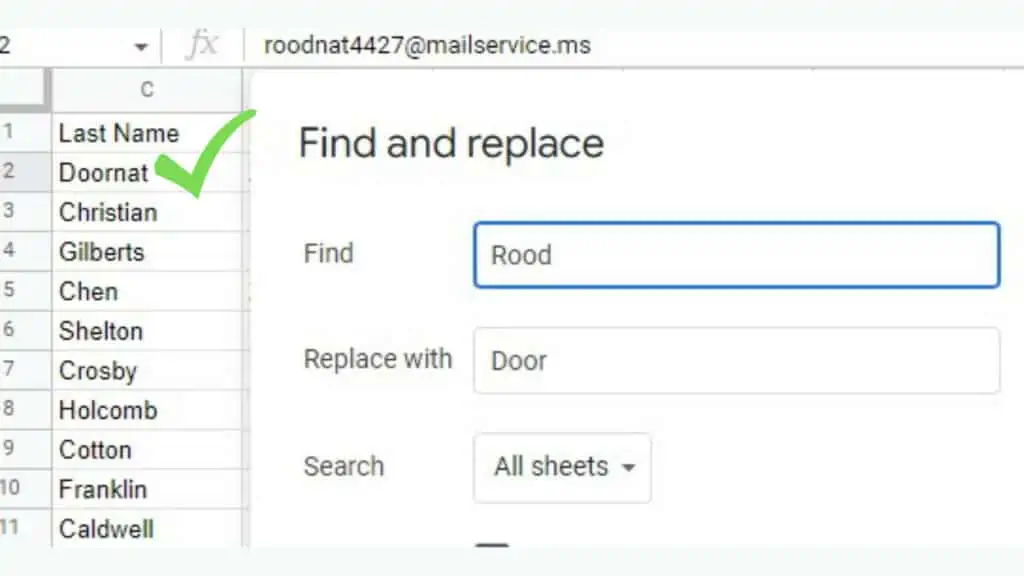
In the example below, I put “Rood” in the Find field and it pointed me to cell C2 containing “Roodnat”. Inserting “Door” in the Replace with field causes the “Rood” part of the word “Roodnat” to be replaced by “Door”.

This changes the content of C2 from “Roodnat” to “Doornat”. The ‘Find’ and ‘Replace with’ fields also accept numbers, phrases, special characters, or any combination of these.
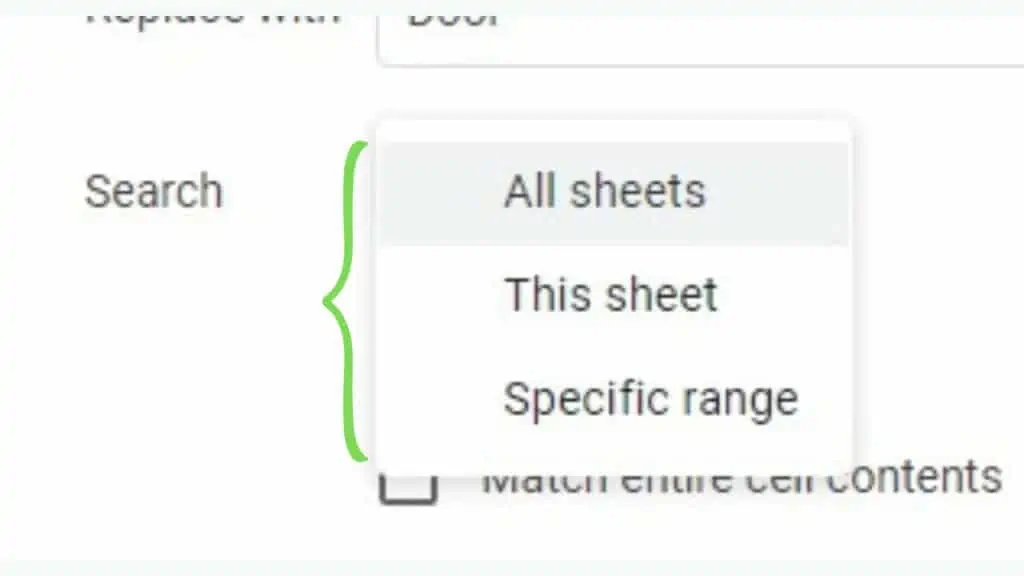
The ‘Search’ option defines if the ‘Find and replace’ will run on ‘All sheets’ across the whole workbook, ‘This sheet’ which is the current sheet that you are on, or a ‘Specific range’ that you can define on the ‘Find and replace’ window or is automatically defined if you have a specific range selected before you opened ‘Find and replace’.
These are the mandatory fields for Find and Replace in Google Sheets to work.
Match Case and Match Entire Cell Contents
There are two useful optional settings for Find and replace in Google Sheets.
- Match case: Makes your search case-sensitive.
- Match entire cell contents: Searches for cells that are an exact match.
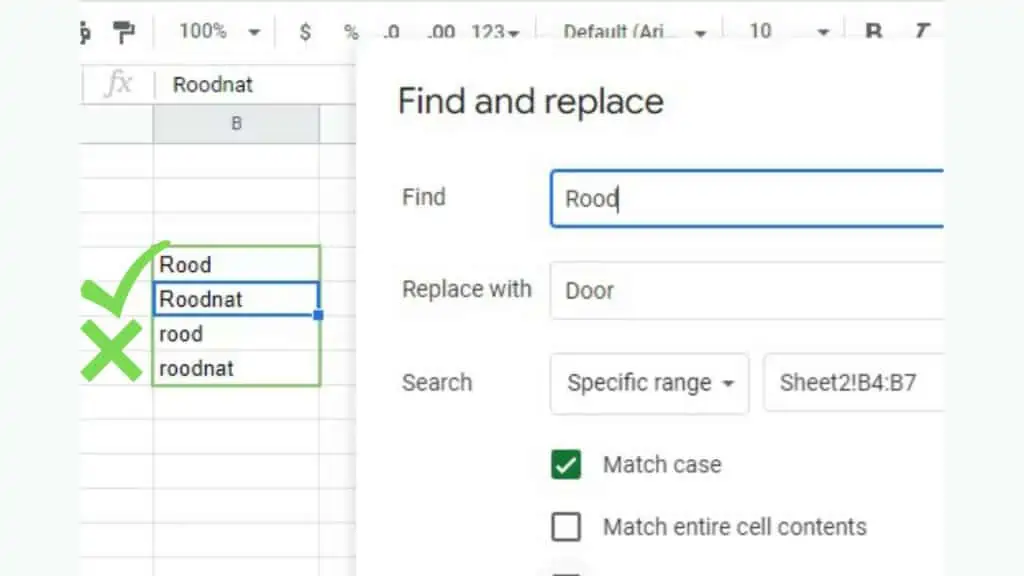
For the example below, the Find value is “Rood”. With ‘Match case’ ticked, it only gives me the first two options in the specific range selected. This is because ticking ‘Match case’ made the search case-sensitive to which “rood” and “roodnat” doesn’t qualify.
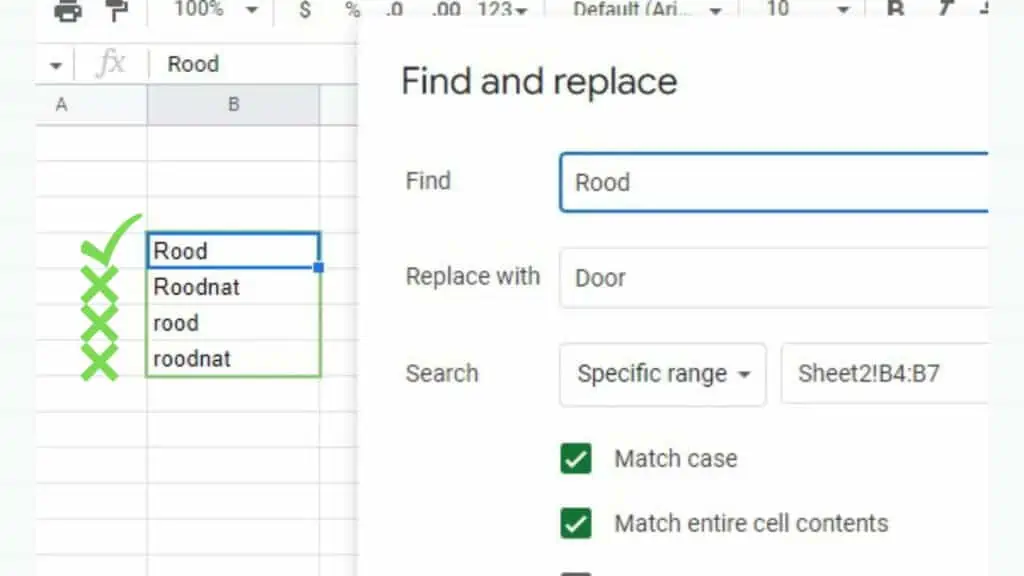
Now if you also tick ‘Match entire cell contents, this limits the ‘Find and replace’ result to the topmost cell in the selected specific range – since this is the only word that is an exact match to the ‘Find’ value.
Depending on your needs, ‘Match case’ and ‘Match entire cell contents’ gives more power to Find and Replace in Google Sheets.
Search Using Regular Expressions
Another great option is ‘Search using regular expressions’ where Find and Replace in Google Sheets searches for cells that match a pattern.
You can read more about patterns using common regular expressions here.
In the example below, I used the regular expression “^P” which indicates that I’m looking for strings that start with “P”.
As seen in the specific range selected, four cells matched.
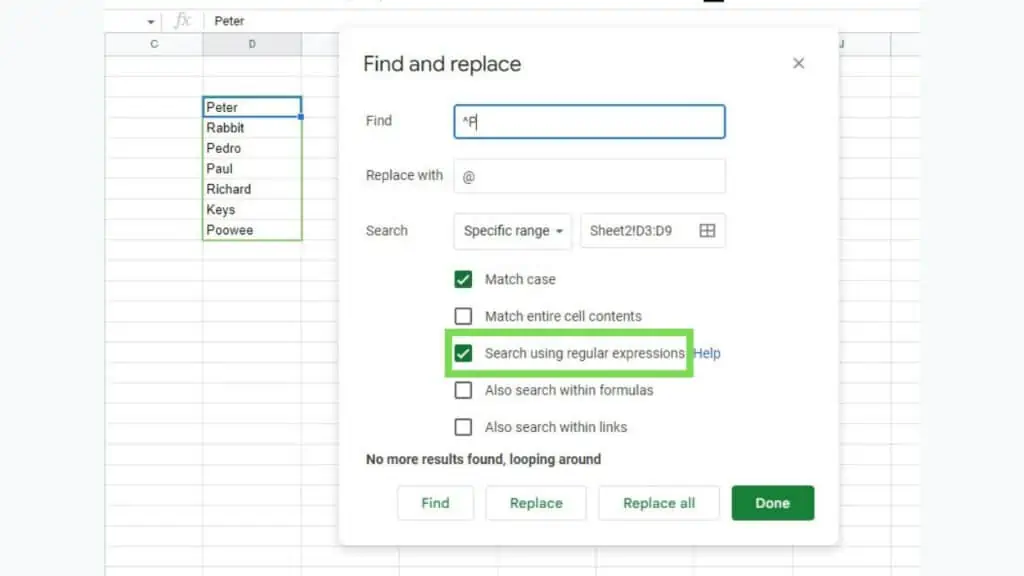
I will be replacing all the “Ps” with the “@” sign.
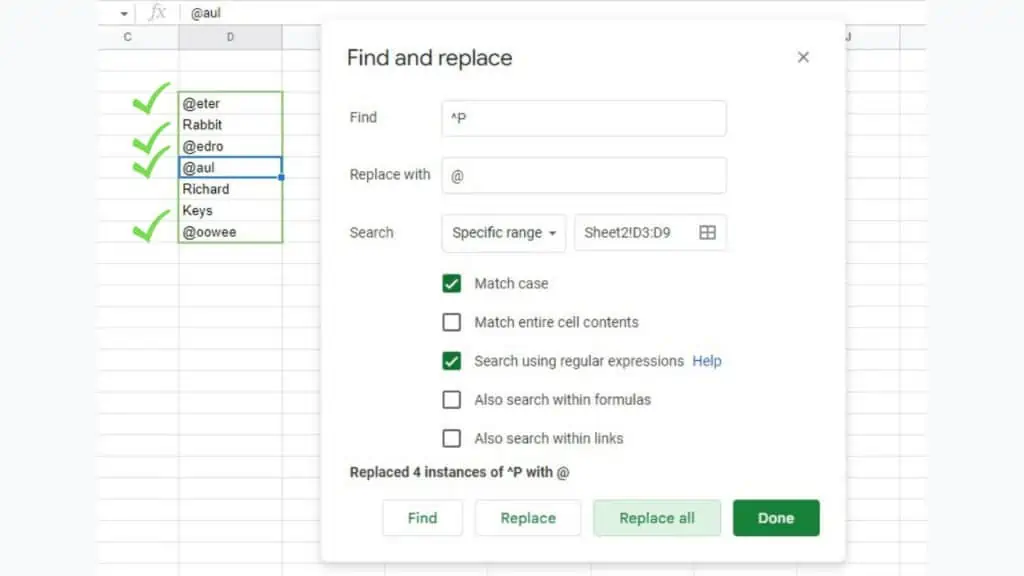
Now, all the previously matching strings are changed to start with the “@” sign instead of the letter “P”.
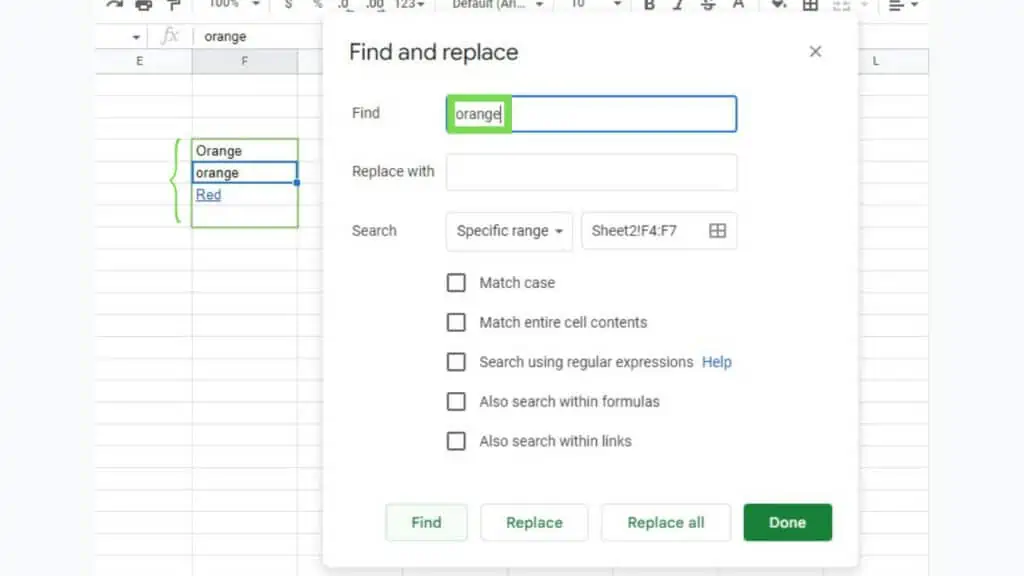
Search Within Formulas and Links
The last options are to “Also search within formulas” and “Also search within links”.
Normally, links are only seen when you select or highlight Hyperlinks. While formulas can only be seen when you double-click on a cell containing a formula or check its formula bar.
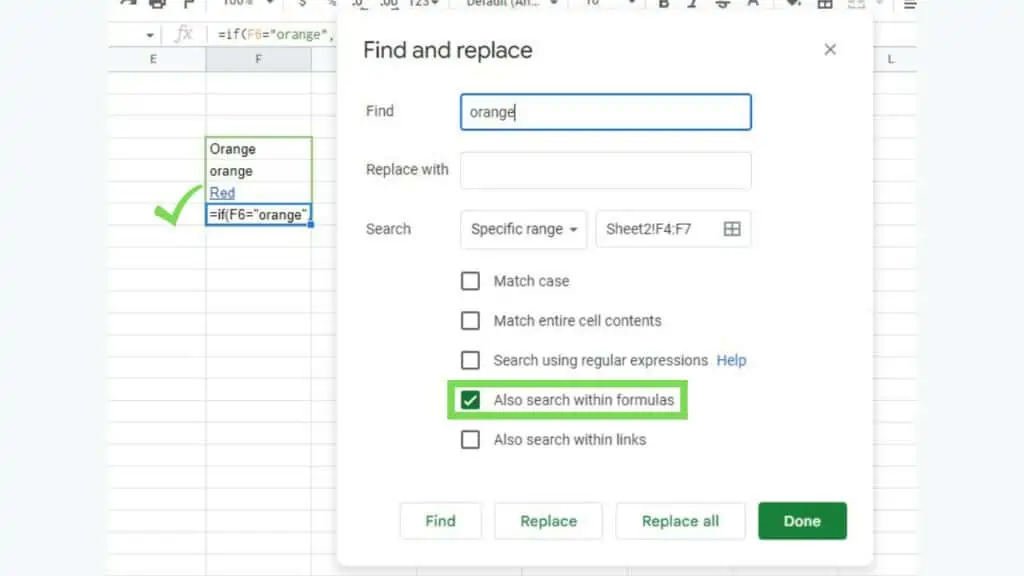
Ticking ‘Also search within formulas’ will treat formulas as text instead of their outputs.
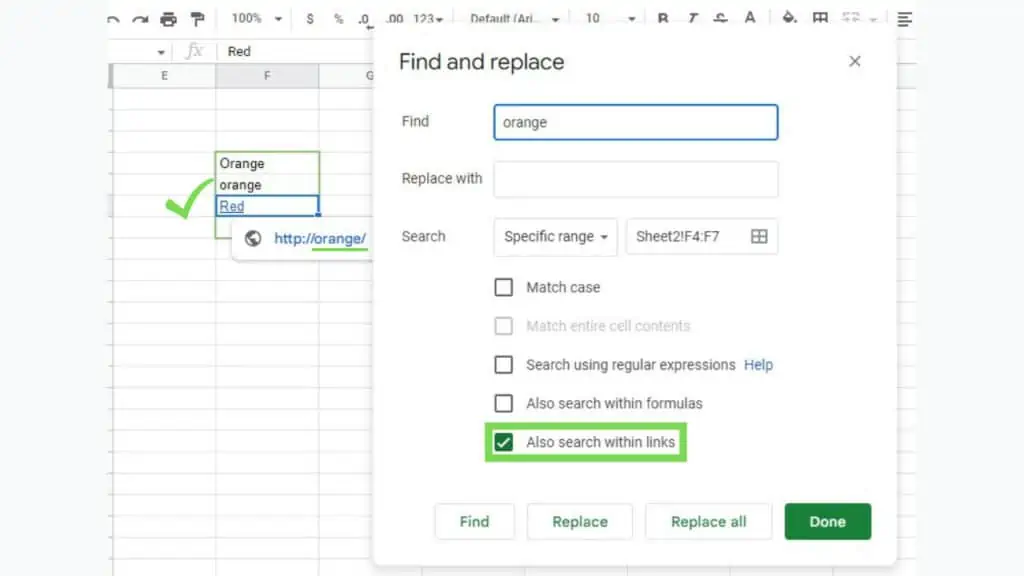
At the same time, ticking ‘Also search within links’ will search the actual URLs of hyperlinks.
In the example below where none of the two options were ticked, the only qualified results of Find are the first two cells containing “Orange” and “orange”.
When ‘Also search within formulas’ is ticked, the bottom-most cell of the selected specific range automatically changes to show the formula and is also included in the results of Find and replace as it contains the word “orange”.
Now when the ‘Also search within links’ option is ticked, the “Red” Hyperlink text is selected because its URL contains the word “orange”.
Using each one of these options, all of them, none, or a combination thereof gives off different results.
But if you master how to use them, you’ll be able to use them to their best potential allowing you to replace words as you need them quickly and accurately.
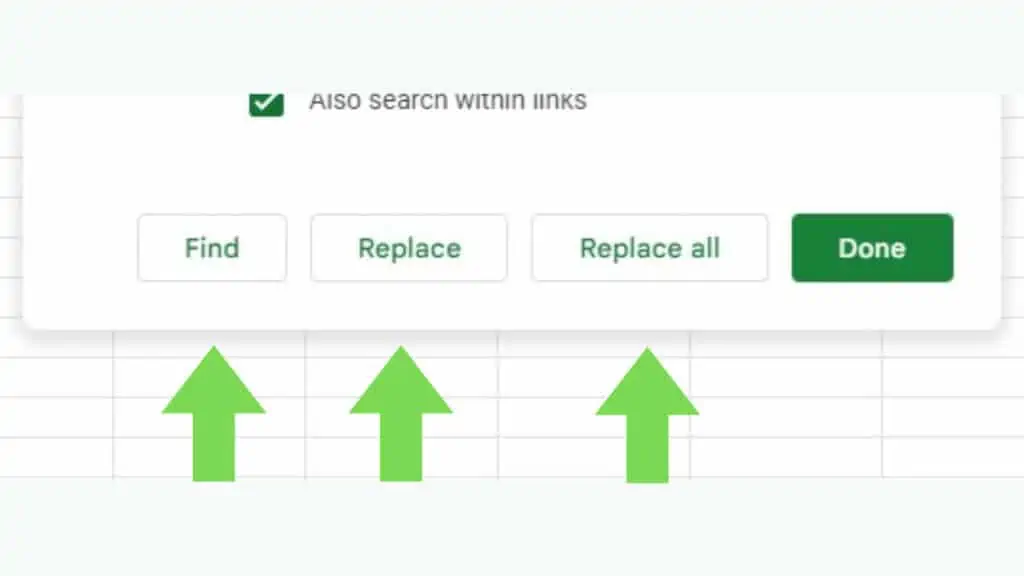
Find, Replace, and Replace All
Lastly would be the buttons at the bottom of Find and Replace in Google Sheets.
- Find – loops around each result of Find per click
- Replace – changes the ‘Find’ value of the currently highlighted cell to the value of ‘Replace with’
- Replace all – instantly changes all ‘Find’ value matches to the value of ‘Replace with’
You hit ‘Done’ once you’re okay with all the changes.
This is how you can use Find and Replace in Google Sheets.
If you also want to learn how to use its function equivalent, you may check out my other tutorial, “How to use the FIND Function”.
Frequently Asked Questions about How to Use Find and Replace in Google Sheets
How can I use Find and Replace in Google Sheets?
To use Find and Replace in Google Sheets, you may use the keyboard shortcut: CTRL + H if you’re using a Windows Computer. Otherwise, if you’re on a Mac, you may use the keyboard shortcut CMD + H.
How can I apply the changes to all results of Find and Replace in Google Sheets?
To apply changes to all the results of Find and Replace in Google Sheets at the same time, use the ‘Replace all’ at the bottom. This will instantly take the value in ‘Replace with’ to change all the portions of the values in cells that match the value in ‘Find’.
Conclusion on How to Use Find and Replace in Google Sheets
To utilize Find and Replace in Google Sheets use the keyboard shortcut CTRL + H for a Windows computer or COMMAND + SHIFT + H on a Mac computer. Alternatively, you may use the keyboard shortcut CTRL + F on a Windows PC or COMMAND + F for Mac PCs and then go to ‘More options’ by clicking on the vertical ellipsis.

