In this tutorial, I am going to show you how to delete blanks in Google Sheets.
As with any other datasets or tables, it’s not uncommon to have blank cells or even rows and columns which isn’t the best thing in terms of data management. It’s always a good practice to keep the hygiene of your data up or else you may experience some inaccuracies.
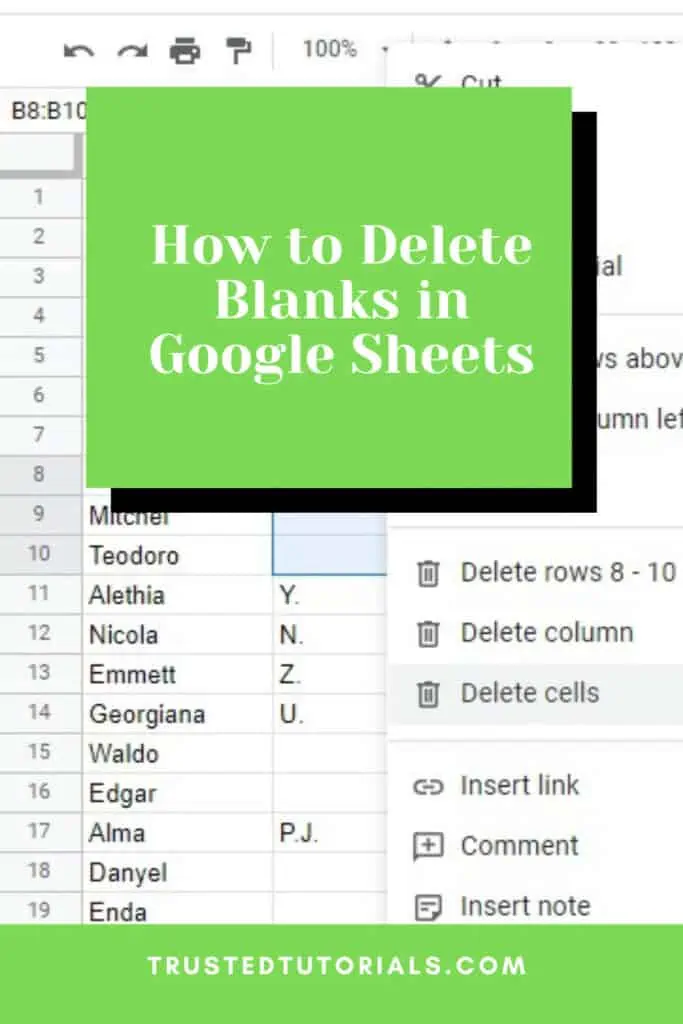
How to Delete Blanks in Google Sheets
- Select the blank cells that you wish to delete
- Right-click on the selected cells
- Click on ‘Delete rows’, ‘Delete column’, or ‘Delete cells’
Remove Blanks in Google Sheets Video
5 Ways to Delete Blanks in Google Sheets
Depending on your scenario or your preference, you may use any of the five ways that I’ve listed down below on ways to delete blanks in Google Sheets.
1. Delete Blank Cells and Shift
This method works best if you have a smaller dataset or table.
To do this, simply select the blank cells or range with empty cells, and then right-click on it.
On the context menu, go to ‘Delete cells’ and select ‘Delete cells and shift up’.
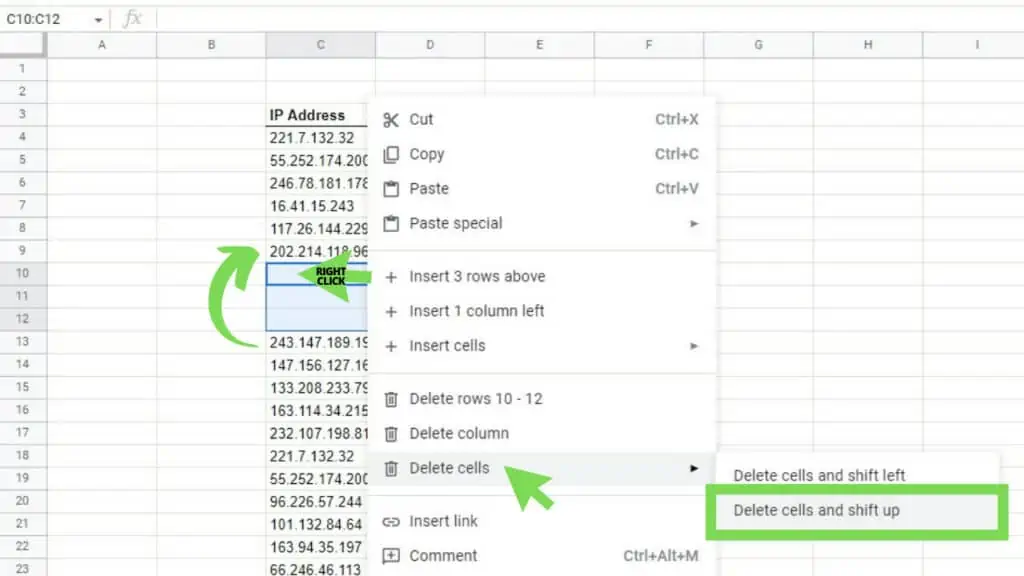
This is the most straightforward way to delete blanks in Google Sheets.
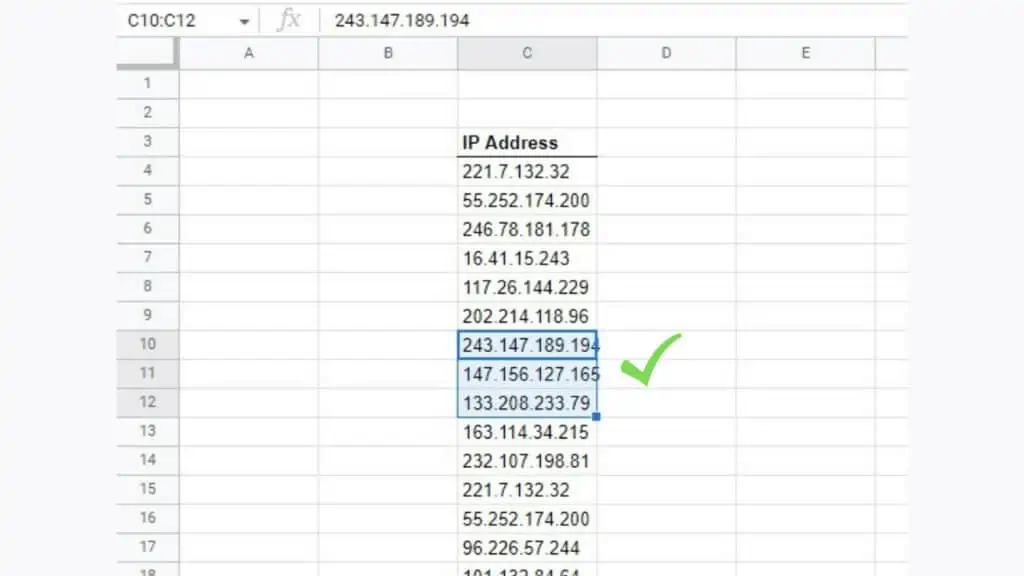
Right after, the blank cells will disappear and the cells below them will be shifted up.
Below is another example to demonstrate the other orientation to delete blanks in Google Sheets.
I just need to follow the same steps as above except for the last bit where I will select the ‘Delete cells and shift left’ option.

Same with the previous example, the end result will be that the blank cells will be instantly deleted and the cells to their right will be moved to the left.
The deleting cells options only appear when you have selected a single cell or a single whole range. This doesn’t work if you select multiple separate cells or ranges.
Most importantly, take note of the orientation of your data once you deleted the cells that you have selected. Make sure that you’ve selected the correct option between ‘Delete cells and shift left’ and ‘Delete cells and shift up’ options.
2. Filter, Sort, and Delete
Another method to delete blanks in Google Sheets is to use the Filter option.
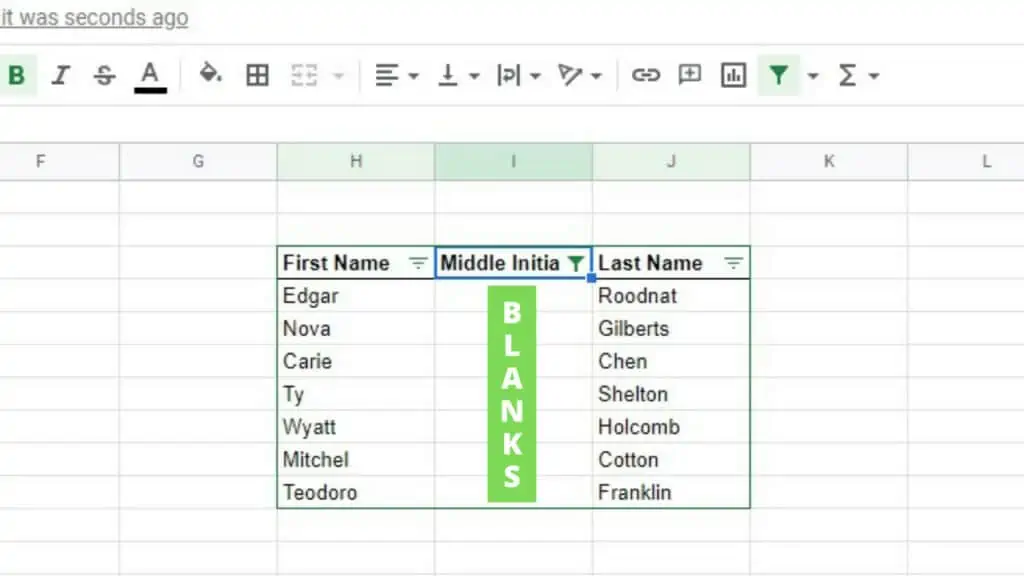
As an example, I have a table with incomplete information that I need to discard.
To start, select the range of your whole dataset with blank cells.
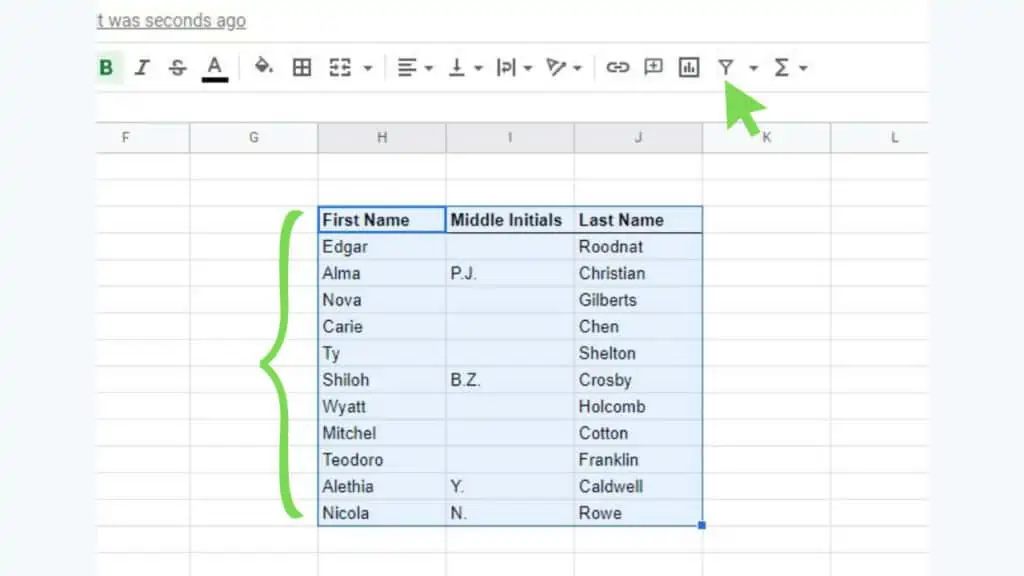
Next, click on the ‘Create a filter’ tool on the toolbar.
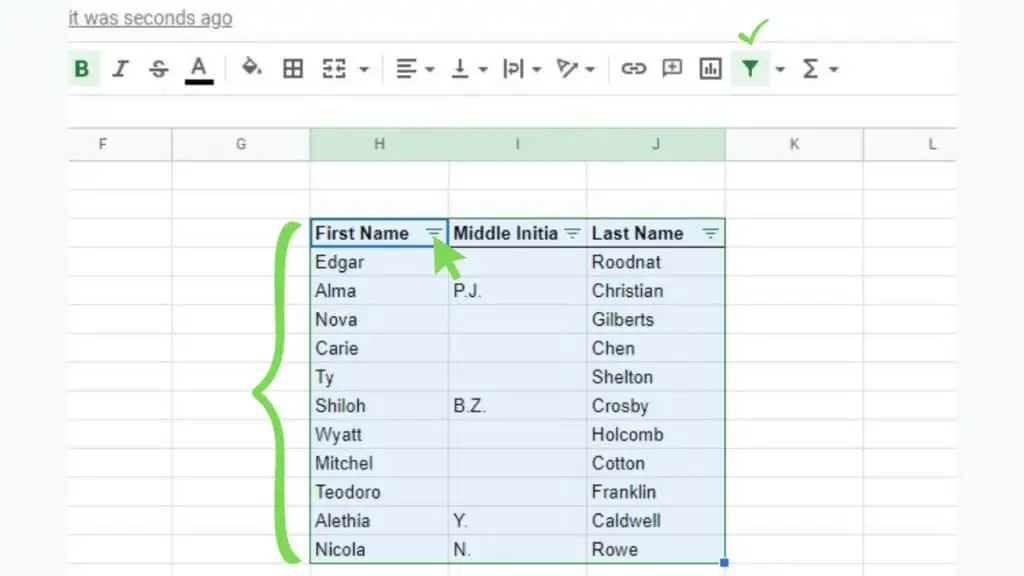
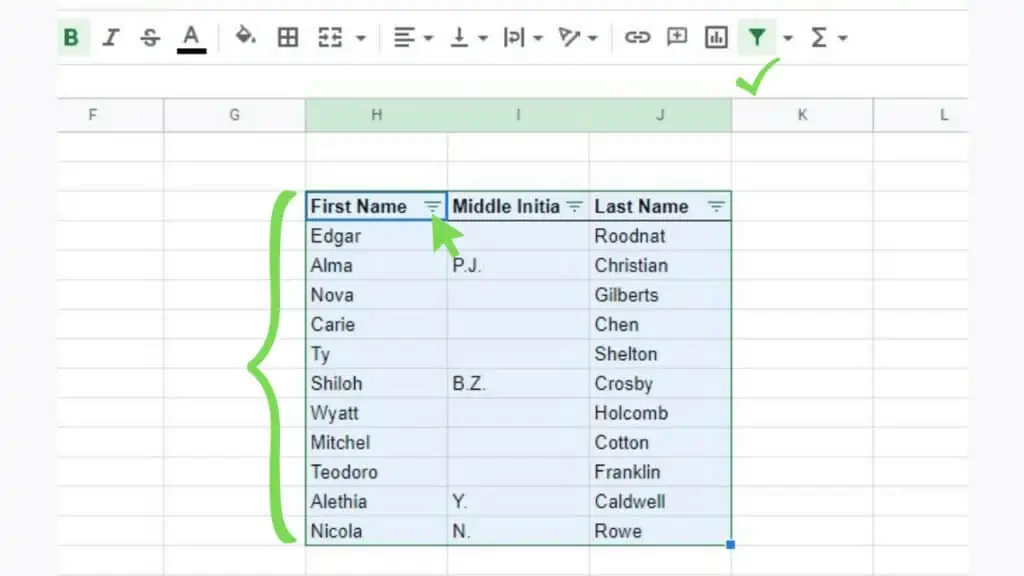
Click on the filter menu on the column with blanks and select ‘Sort A → Z’.
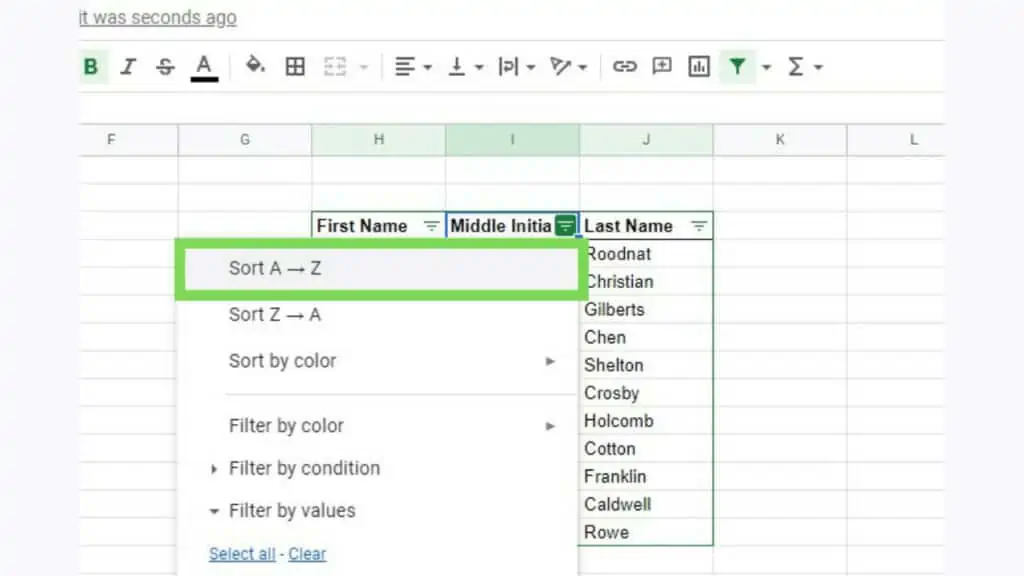
This will move all the rows with an empty cell in the column below.
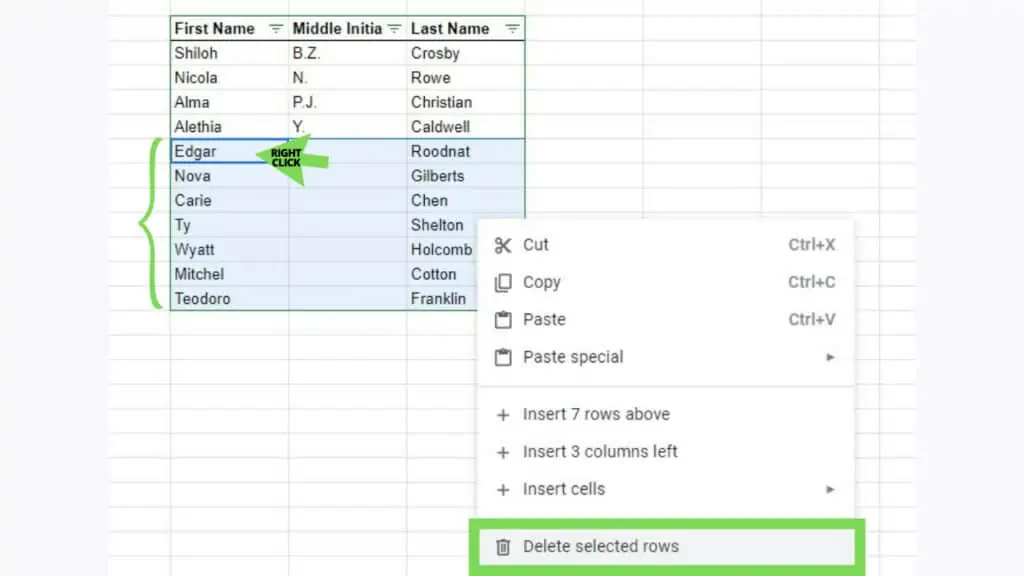
Next, I need to select all the rows that I wish to delete, right-click on the selection, and select ‘Delete selected rows’ on the context menu that shows up.
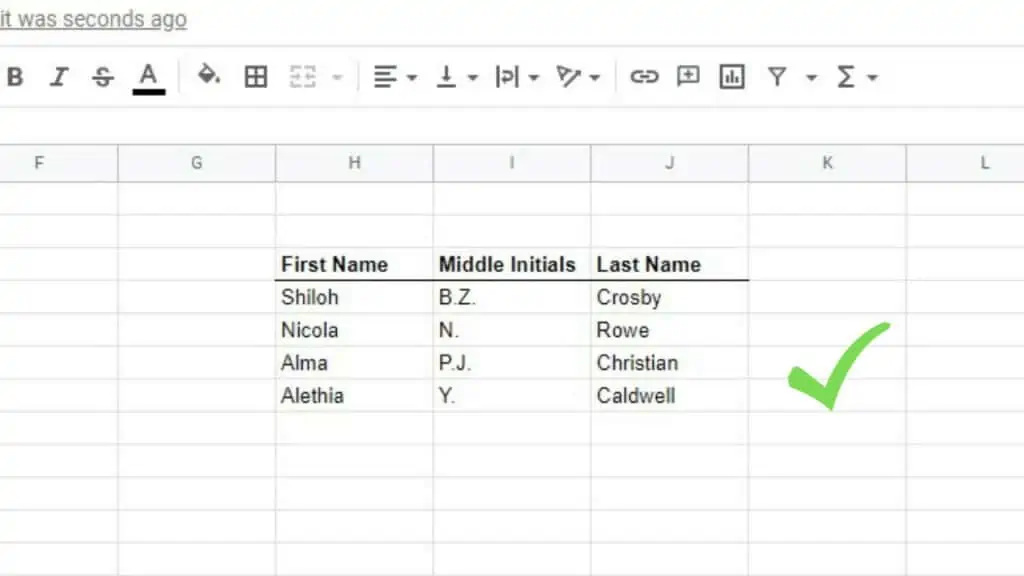
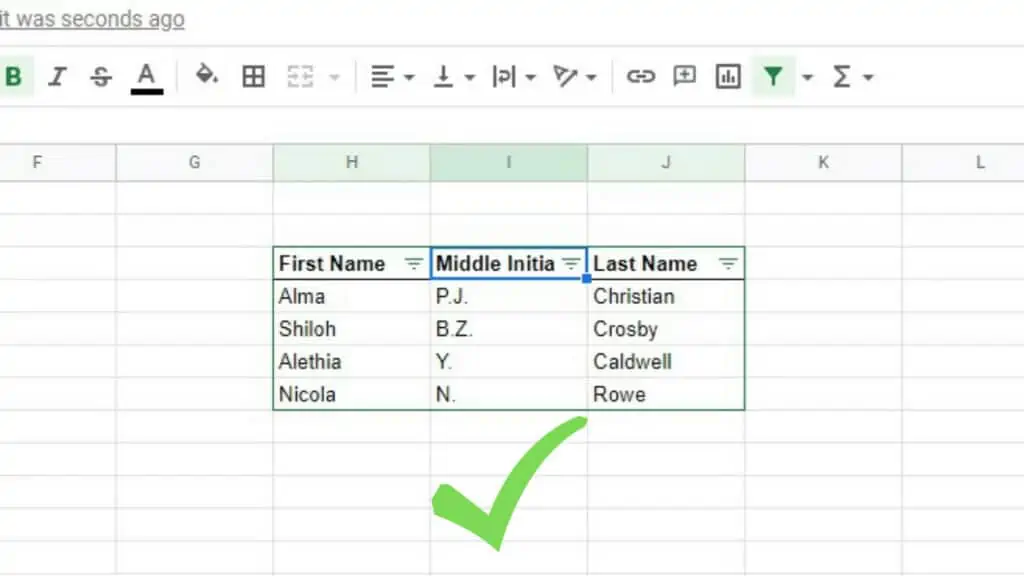
I now have cleaned my table to contain only those rows with complete information.
The last step is optional but if you wish to return your dataset to a simpler look, just click again on the filter tool to ‘Remove filter’.

I now have neater data that looks so much better.
When sorting, it may be helpful to keep the original order of things up to some extent. If that is the case, I have some tips that may help you in my other tutorial, How to Unsort in Google Sheets.
Other than filtering and then sorting, I can also directly filter by blank values and delete blanks in Google Sheets.
3. Filter by Blank Values and Delete
Using the same example as filtering and then sorting, I will show you how to filter by blank values and how to delete blanks in Google Sheets.
I need to have my table filtered and this can be done by clicking the ‘Create a filter’ tool.
Now, I just have to click on the filter menu for the column with blank cells. Here, I’ll be using the ‘Filter by values’ option, and everything aside from “(Blanks)” should be unticked.
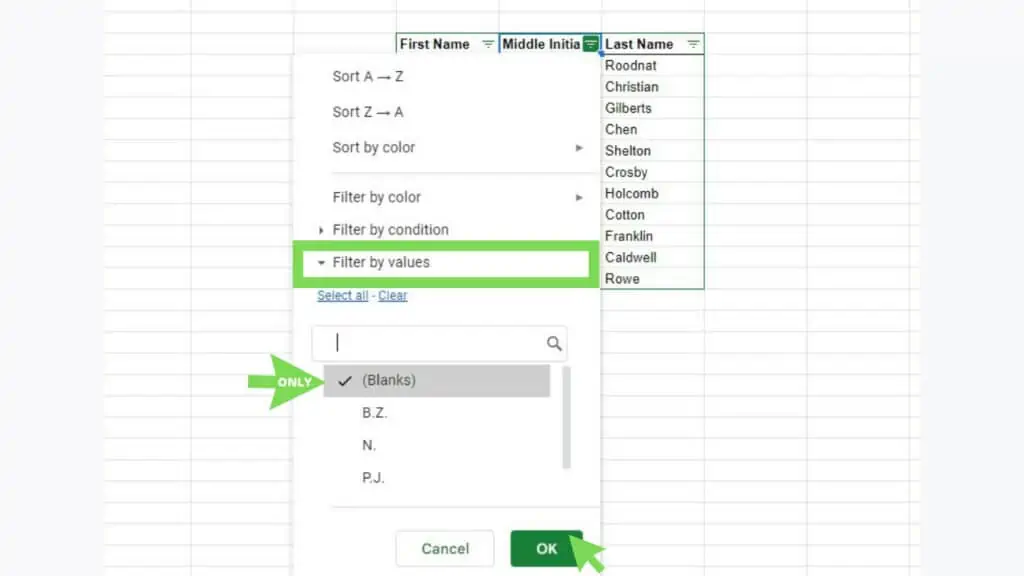
Once I do this, the table will hide every other row aside from those that have blanks.
The next step is to select all rows with blanks and delete them. This can be done by right-clicking on the selection and then choosing ‘Delete selected rows’. Make sure that the header of your table wasn’t included.

Once this is done, I have ended with an empty table with only its headers. Now the only thing to do here is to bring back the valid data of rows with no blanks.
This is done by going back to the filter menu option and then clicking on the ‘Select all’ under ‘Filter by values’ and then hitting ‘OK’.

Once I hit ‘OK’, I’ll instantly get a table with cleaner data than before – meaning, no blanks!
An alternative to this is to simply click the filter tool again to remove the filter and the same table should show up.
4. Sort Out Blanks with the Sort Range Menu Option
Another effective way to delete blanks in Google Sheets is through the use of the sort range menu option.
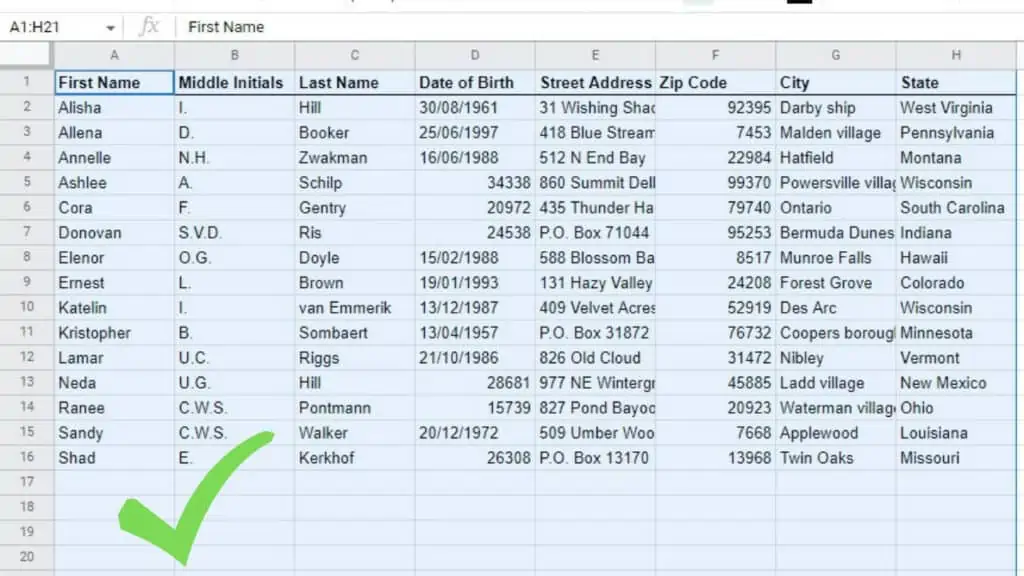
In the example below, I have a big dataset with a number of rows that are empty. This sometimes happens due to human error or bugs, but regardless, it’s best that I remove these empty rows as some functions may not work properly with them in my dataset.
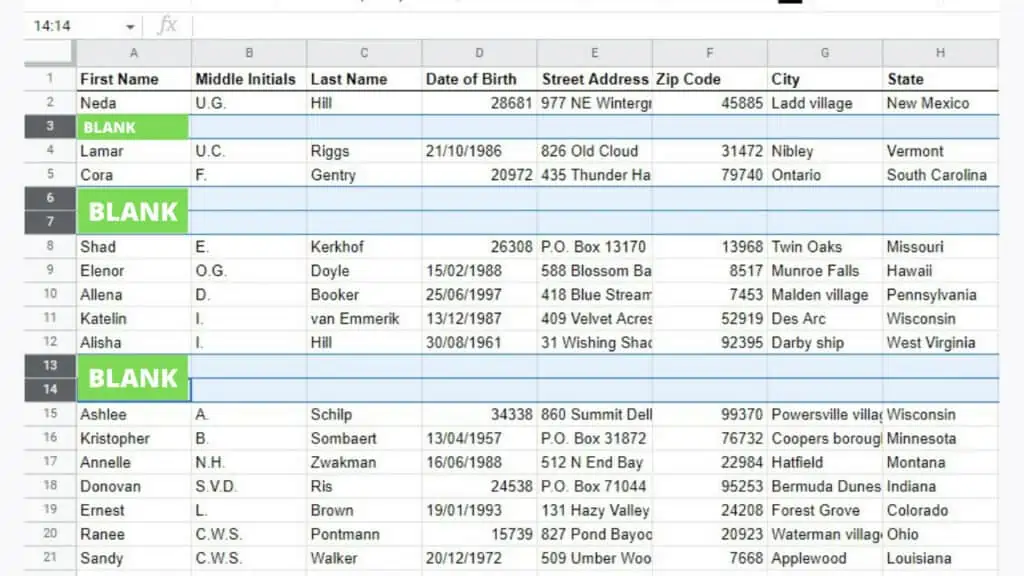
To start, I just need to select the whole range.
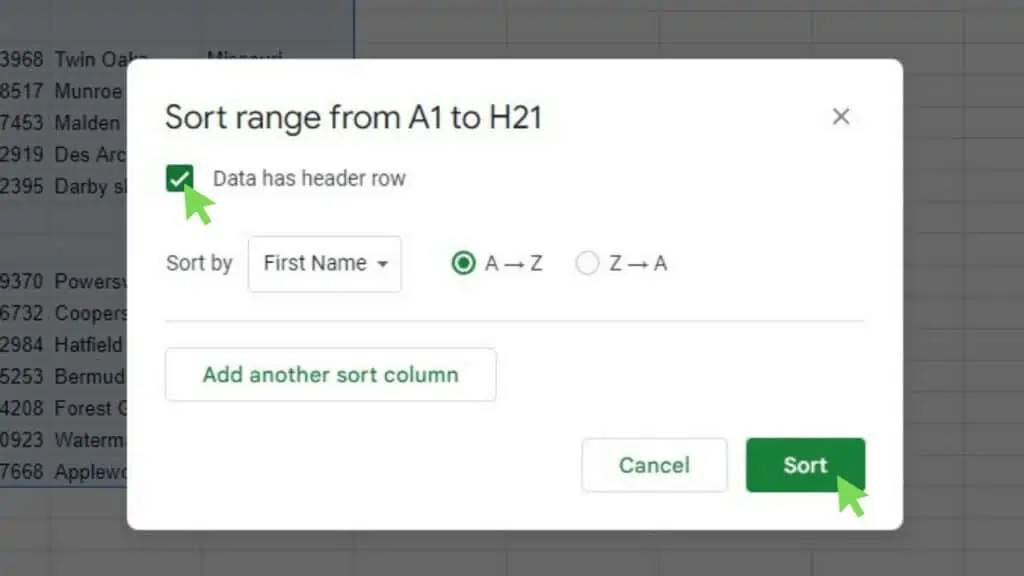
Next, go to ‘Data’, ‘Sort range’, and then ‘Advanced range sorting options’.
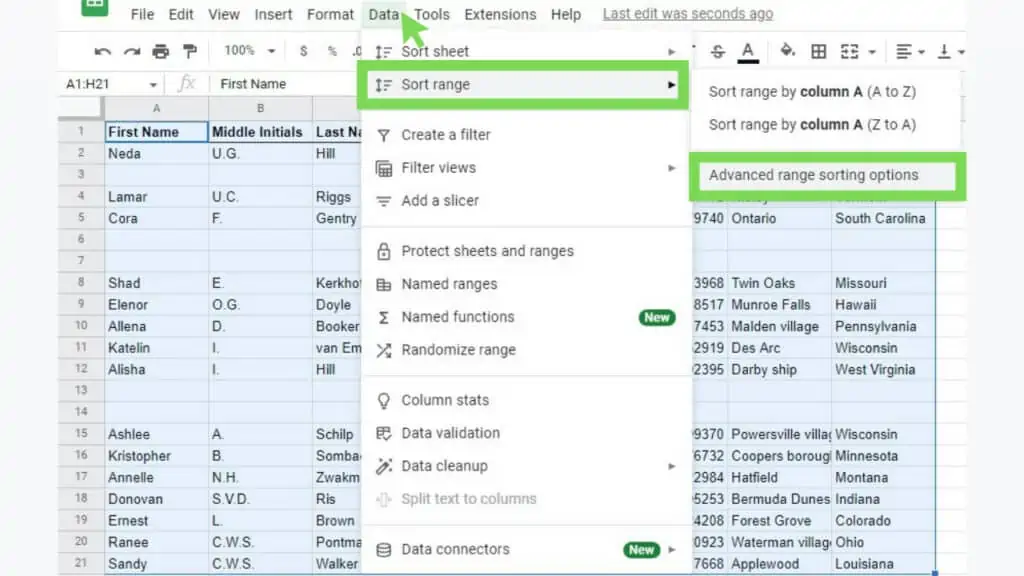
The ‘Advanced range sorting options’ window will show up.
In my selected range, headers are included on the first row that’s why I ticked the checkbox below the window title. If you only want to delete rows based on a specific column with blanks, change the ‘Sort by’ field. Otherwise, hit ‘OK’.
This will automatically push the empty rows below (rows 17-21) as seen in the next screenshot.
This is helpful when you have a good command of which columns you are using as a reference for the deletion. It may even be easier if you’re hunting for entire rows consisting only of blanks.
5. Sort Out Blanks with the SORT Function
My last example is not really deleting in the exact sense of deletion but more of omission.
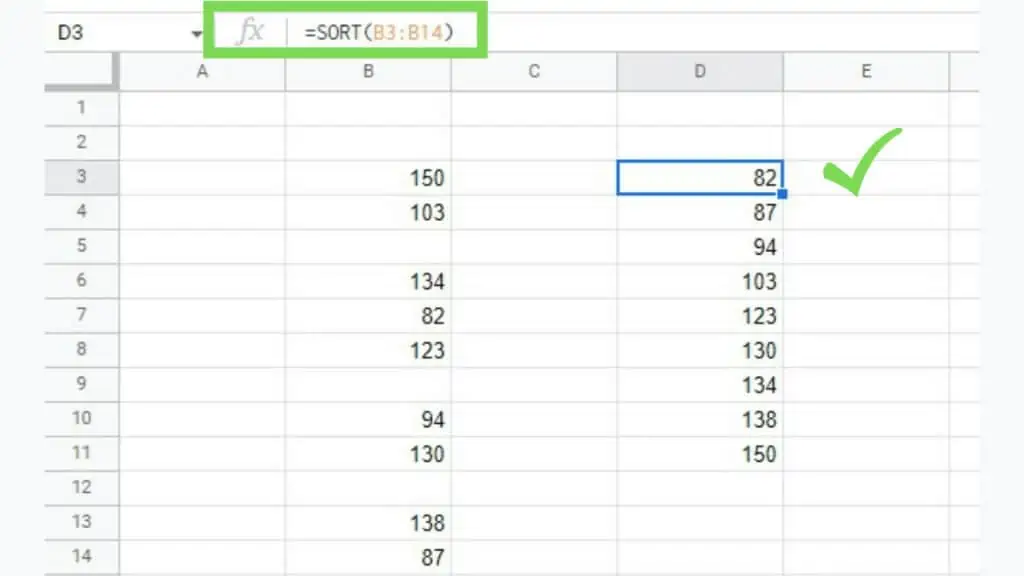
Using the SORT Function, we can display a new column with cells that are non-blanks.
The syntax of SORT is
=SORT(range, sort_column, is_ascending, [sort_column2, is_ascending2, …])
Now, in the example below, I have a column with some blanks.
In a separate column, I just needed to type in =SORT(range) and that’s that. You can see how I did it below.
Once you have the output, you can copy and paste values only (Ctrl+Shift+V) to a different cell if you need to.
All in all, I think these methods are simple and easy to do. These are some of the ways that I’ve been using to delete blanks in Google Sheets.
Frequently Asked Questions about How to Delete Blanks in Google Sheets
How can I delete blanks in Google Sheets?
To delete blanks in Google Sheets, select the blank cell or range of blank cells that you want to delete. Right-click on your selection, and select ‘Delete rows’, ‘Delete column’, or ‘Delete cells’ depending on the orientation of your selected blank cells.
How can I check cells if they are empty before I delete blanks in Google Sheets?
To check blanks in Google Sheets if they are really empty before deletion, you may use the function ISBLANK. If it returns TRUE, it means that the cell that you’ve checked is blank. Otherwise, even if it looks empty, it contains something like a string that is in white font.
Conclusion on How to Delete Blanks in Google Sheets
Delete blanks in Google Sheets by selecting the blank cells that you wish to delete. Next, right-click on the selected cells. Then, click on ‘Delete rows’, ‘Delete column’, or ‘Delete cells’ depending on the orientation of your selected blank cells.

