In this tutorial, I will show you how to bold lines in Google Sheets.
Whenever you are working, presenting, or writing something, you may find the need to enhance or bold your headings, some facts, figures, or anything important in that content. The same is the case in Google Sheets.
Let’s have a look at how to bold text and borders in Google Sheets.
How to Bold Lines in Google Sheets
To bold text in Google Sheets follow these steps:
- Select a range of cells
- Click on the ‘B’ (bold) button in the Ribbon
- Text in the selected cells is bold now
Keyboard shortcut to bold text in Google Sheets:
- Select a range of cells
- Press the CTRL + B key from the keyboard
- Text in the selected cells is bold
To bold lines in Google Sheets, do the following:
- Select a range of cells
- Click on the ‘Border’ button in the Ribbon
- Click the type/style of the border you want to apply
- The selected range of cells has now bold visible borders
Bolding lines and Text in Google Sheets Video Tutorial (Step-by-Step)
How to Bold Lines in Google Sheets Examples
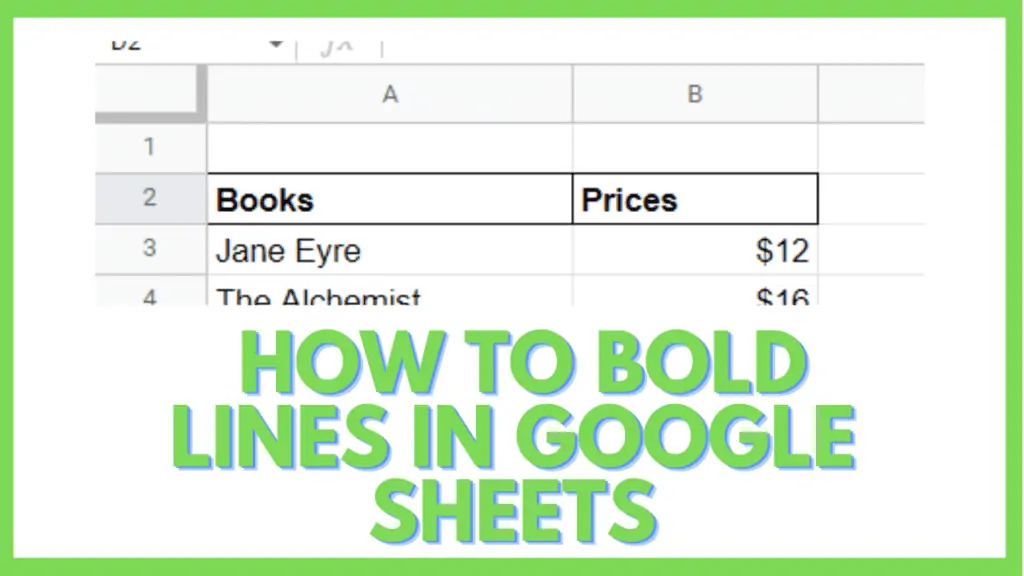
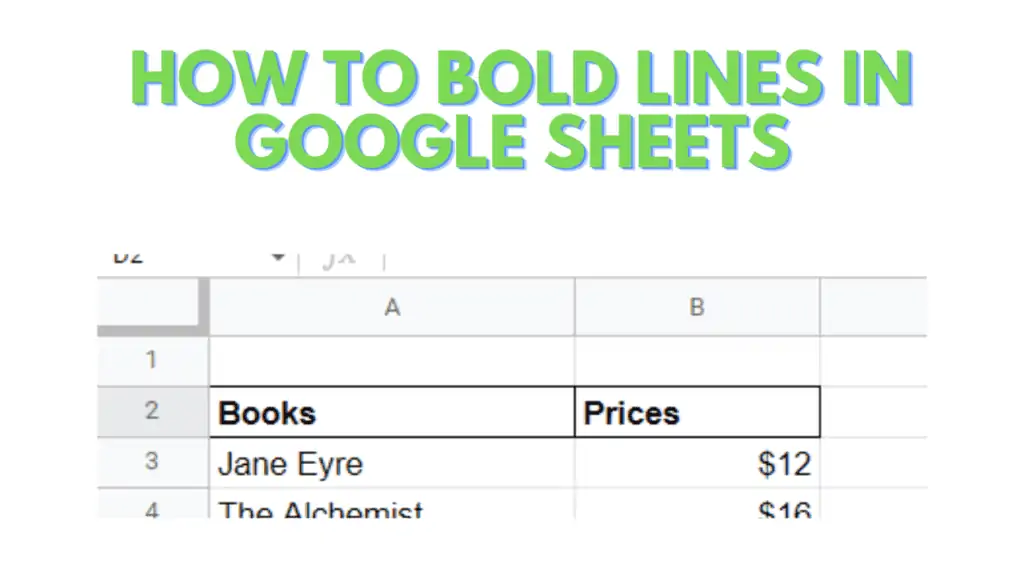
Let’s suppose you have data including titles in Google Sheets and you would like to bold the title text as these are the headers.
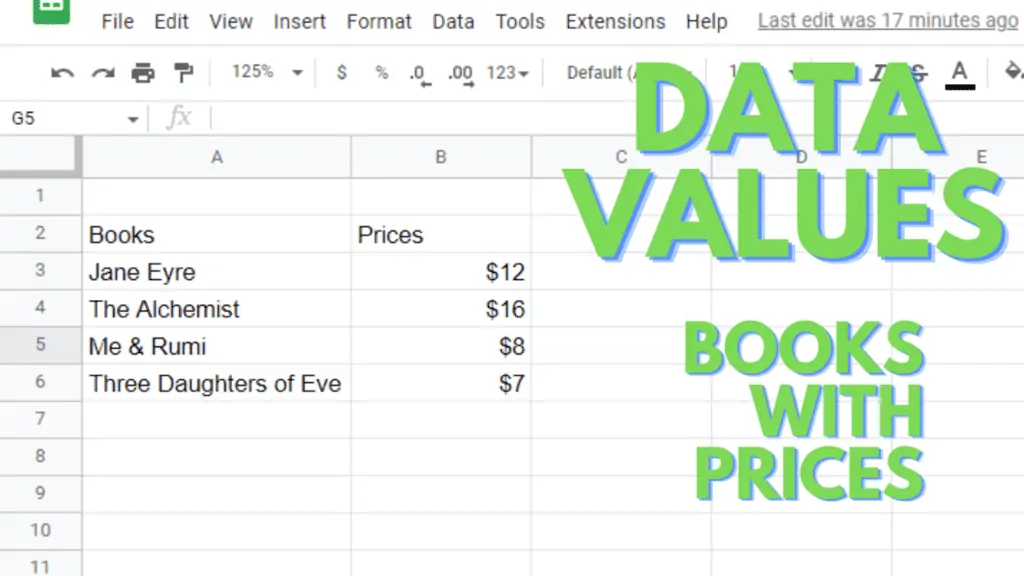
In my example I am using books and their corresponding prices.
Bolding the Text in Google Sheets
First, let’s learn how to make lines bold in Google Sheets step by step. There are ways of making the content bold:
- By using the Bold Button in the Ribbon
- By Keyboard Shortcut (Ctrl + B) on a PC or (Cmd + B) on a Mac.
Method 1 – By Using the Bold Button in the Ribbon
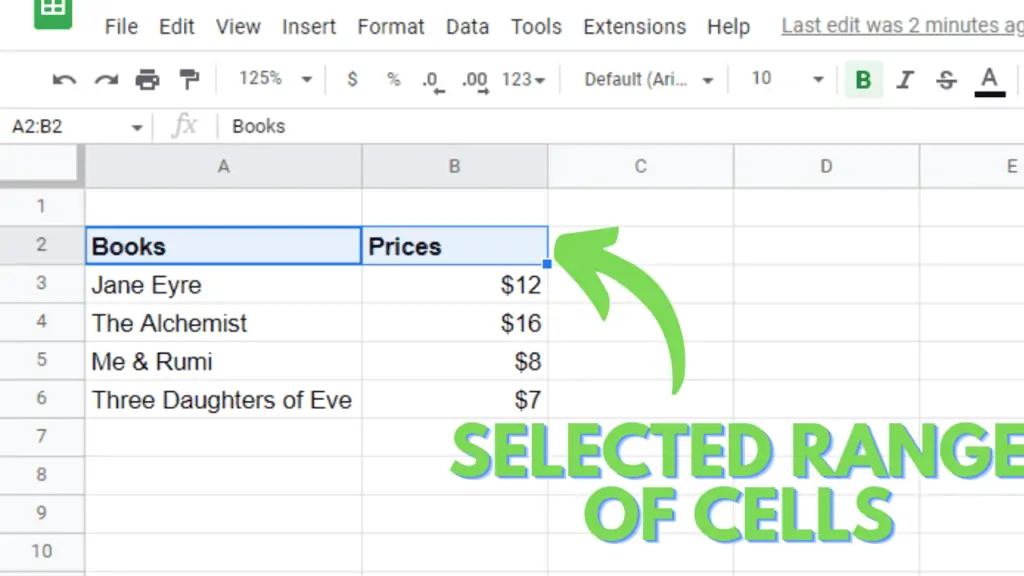
Step 1 – Select the Data
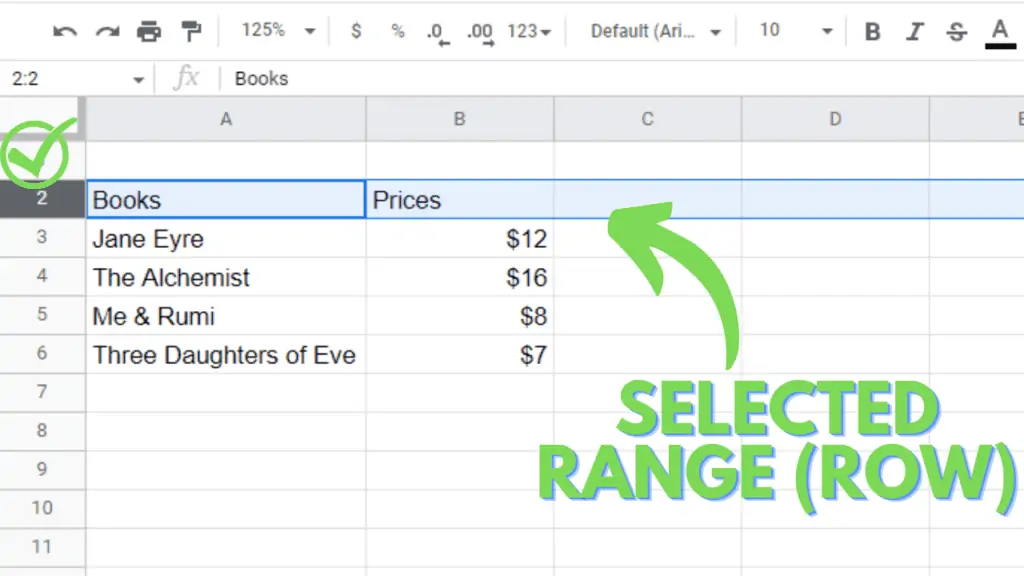
For bolding text or lines in Google Sheets, select the line(s) or row(s) or the entities that you want to bold.
Simply click on the row number that you can see on the left side of your screen.
(Note that this will select your entire row from start to the end.)
Let’s say in the above example I want to bold Row number 2 with the headings of my data, I click on the number 2 and the whole Row 2 will be selected (Shaded blue).
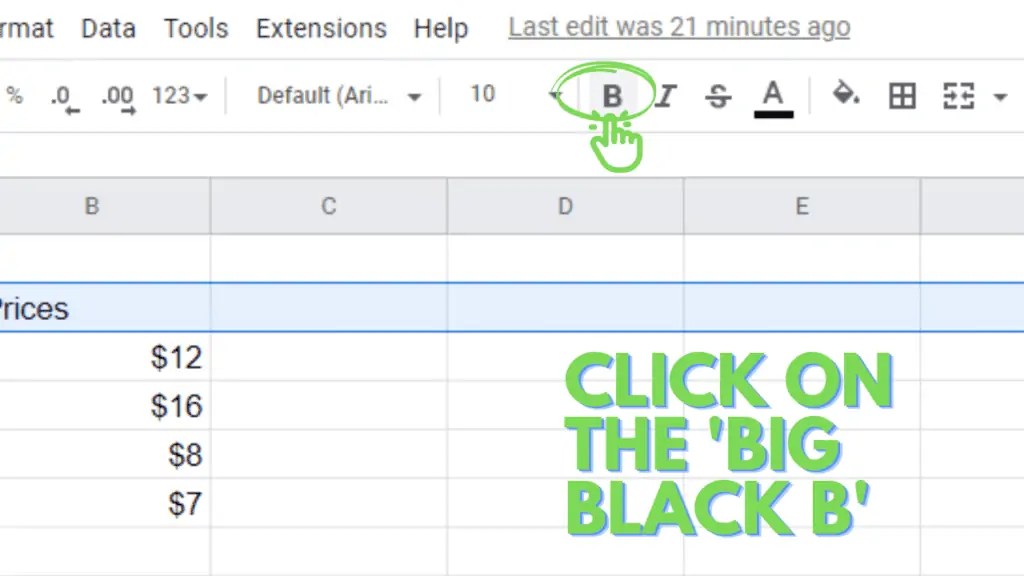
Step 2 – Clicking the Bold Button
After selecting the data that you wish to bold, click on the Bold Button which is the ‘big black B’ located in the toolbar (Ribbon) above the cells.
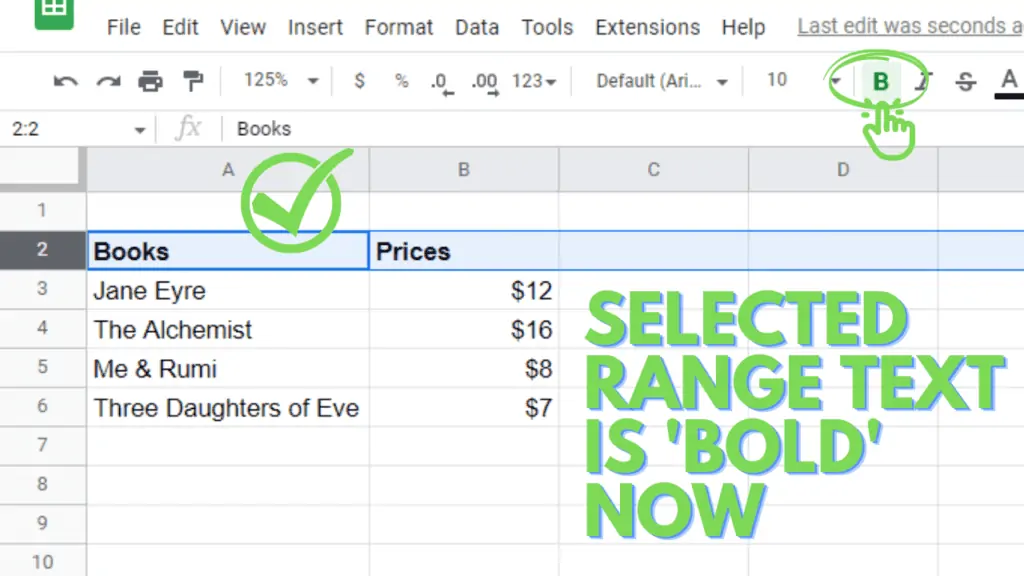
Step 3 – Your text will get Bold.
As soon as you click on the bold button, your text becomes bold.

Method 2 – Bolding Using the Keyboard Shortcut (CTRL+B) PC or (Cmd +B) Mac
Step 1 – Select the data
The first step is the same for both methods. Select the specific data that you need to bold. Again, I am selecting the header row that is Row 2 in our example.

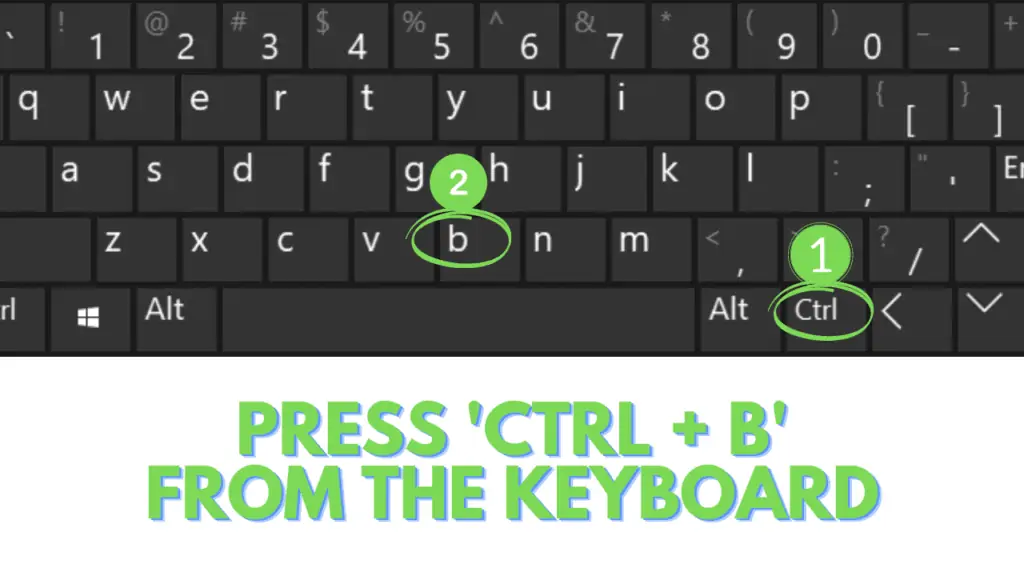
Step 2 – Pressing CTRL+B
In the first method in Google Sheets, you have to navigate to the bold option that is present in the toolbar above the cells but, it can be a waste of time.
Just say you need to bold entities one after the other and for some reason, you cannot bold them at once so it means that each time you will navigate your cursor to the bold button in the toolbar (Ribbon) and then again come to the next cell and then again repeat the procedure.
For such a use case using the keyboard shortcut CTRL + B (PC) and Cmd + B (Mac) is the best option.
Select what you want to bold and then press the CTRL key (PC) or Cmd key (Mac) as well as the B key from your keyboard at the same time.
Step 3 – Your text will become bold.
The results are the same, your text is bold now.
Making the Margins Bold
If you want to add borders or make the margins bold (both mean the same here) follow a these steps:
Step 1 – Select the Cells
To add a margin or border, select the cell or cells simply by clicking and dragging to cover the desired cells.
Let’s say we want to add a border on the two cells of the top header row.
That is Row 2 in our example. Then select both of them.
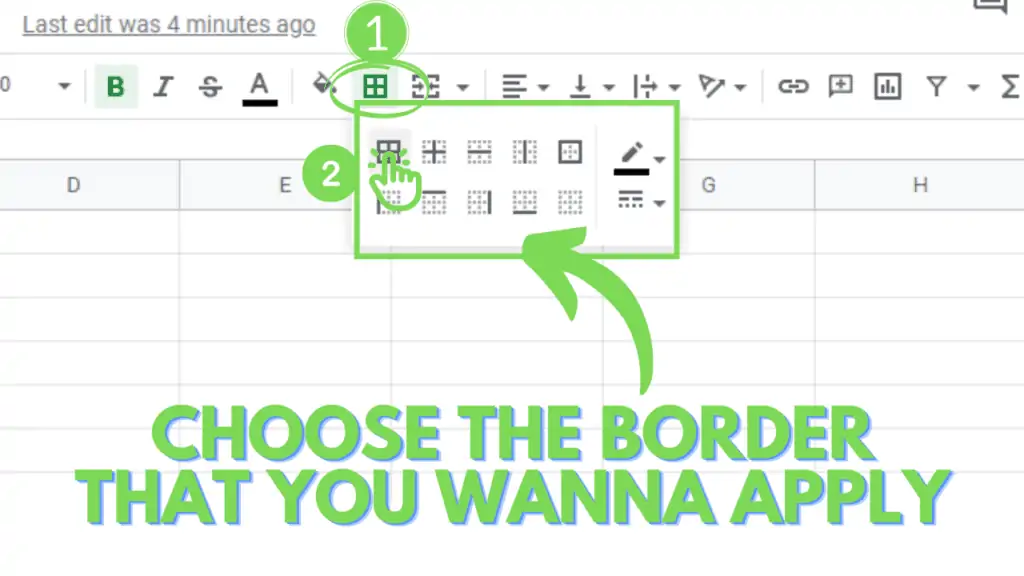
Step 2 – Applying the borders
Next, find the Border Button in the toolbar (Ribbon) near the bold command.
Click the borders button and choose one of the following options:
- All borders
- Inner borders
- Horizontal borders
- Vertical borders
- Outer borders
- Left border
- Top border
- Right border
- Bottom border
- Clean borders
Also, you can change the thickness, line pattern & color of the border, or margins that you are applying. All these options are inside the borders command.
You have the following border styles available:
- Change the line thickness
- Dotted lines
- Double lines
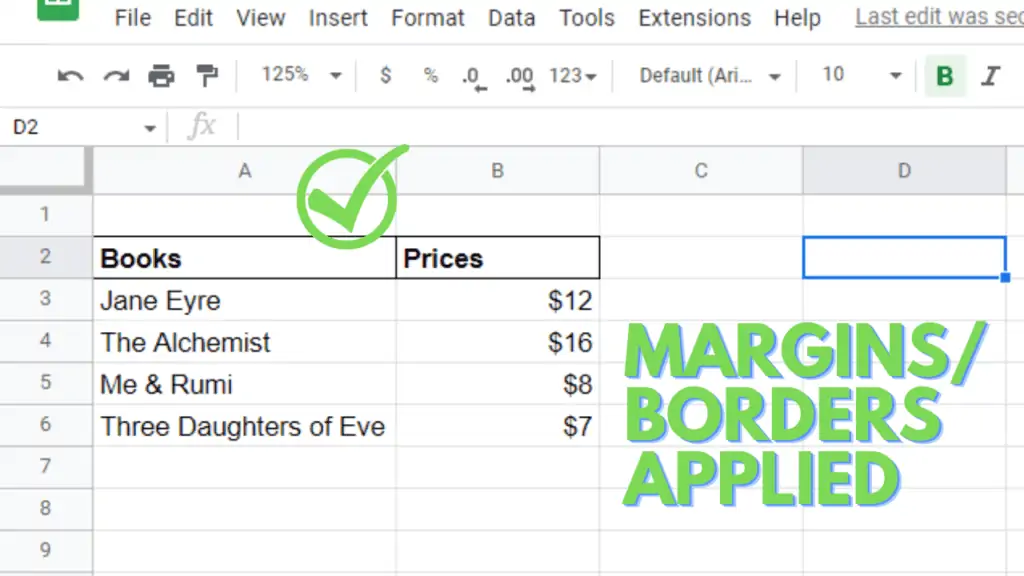
Step 3 – Selected Borders Applied
Choose the style that suits you best.
Once selected, the borders are applied to your selected range of cells.
I chose the first option here which is for ‘All borders’.
Conclusion on How to Bold Lines in Google Sheets
To bold lines in Google Sheets select the cells that you want to bold. Click on the B in the ribbon. The text in the selected cells is now bold. If you want to bold borders, click on the borders button in the ribbon. Select a border style such as outer borders. Once clicked, the borders are bolded.

