It’s annoying when you are in Google Sheets and the cells automatically adjust all of a sudden.
This happens if you have a long text and you enabled the ‘Text Wrapping’ option as an example. You will end up having rows with varying heights that aren’t great to look at.
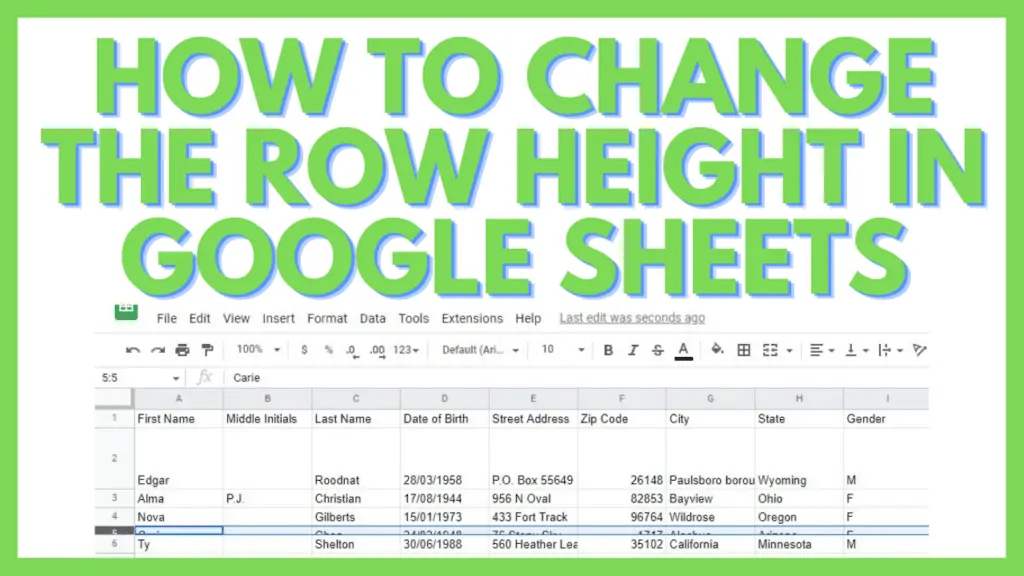
In this tutorial, I am going to show you different ways how to change the row height in Google Sheets.
How to Change the Row Height in Google Sheets
To change the row height in Google Sheets:
- Select the row that you wish to resize
- Hover your mouse over to the lower edge of the row’s number box
- Click and hold on that line
- Drag until you are satisfied with the new height of the row

Alternative ways to change the row height in Google Sheets are:
By Double-Clicking to Auto-Fit
- Hover your mouse over to the lower edge of the row’s number box that you wish to resize
- Double-click on that line
Using the Dialog Box to “Fit to data”
- Right-click on the number box of the row that you wish to resize
- Select ‘Resize row’
- Choose ‘Fit to data’
- Click on OK
By Specifying the Height to Resize the Row
- Right-click on the number box of the row that you wish to resize
- Select ‘Resize row’
- Choose ‘Specify row height’ (selected by default)
- Change the value
- Click on OK
4 Ways to Change the Row Height in Google Sheets Step By Step
There are 4 different ways to change the row height in Google Sheets. You can make an approximate, exact, and even automatic adjustment depending on your preference.
1. Adjusting the Row Height in Google Sheets Using the Mouse to Click and Drag
The simplest method to change the row height in Google Sheets is to by using the mouse and just click and drag.
To start, select the row that we are going to resize.

Then, we need to hover the mouse to the lower edge of the number box of the row to be resized.
Click and hold the left mouse button and drag it to the height that you desire.

Once you are satisfied with the size, let go of the left mouse button.

We now have Row 2 adjusted to the height that we’ve set.
This method can also be used to change the row height in Google Sheets of multiple rows at the same time.
First, we just need to select all the rows that we are going to change the row height.

Then we follow the steps above similar to adjusting the height of a single row.

This will cause all the selected rows’ heights to be adjusted at the same time, with the same difference.

2. Adjusting the Row Height in Google Sheets By Double-Clicking to Auto-Fit
Another method to change the row height in Google Sheets is to simply double-click on the bottom border of the row number’s box.
This is particularly useful when you want to automatically adjust the height of rows to fit the exact size of their contents. So if there is extra space or if there is not enough space, the cell will be automatically adjusted to the perfect fit.
To begin, we’ll just select the row that we’re going to adjust.

Similar to the first method, you need to place your mouse cursor over the lower edge of the number box of the row to be resized.

Once you see the mouse cursor change to resize mode (vertical two-headed arrow), double-click.

This will cause that row to be automatically resized to fit the data in it. If you have a smaller-sized text in that row, the height will be shorter.
Alternatively, if you have bigger text or lines that cannot be seen because they don’t fit the cell, the row will be adjusted to be bigger to fit the size of the data in it. See the example below.

Following the same process above for the first example, this will automatically adjust the height of the row to be higher.

Take note that this process can be done to multiple rows at the same time even if they are of varying heights.
Just select the rows that you wish to change the row height in Google Sheets.

When hovering the mouse cursor to be changed to its resize mode, you may select any row’s number box’s lower edge to hover your mouse icon over.

Just double-click and every row that is currently selected will be automatically adjusted to a height that fits the data in it.

Take note that the resulting size for each row in your selection will be dependent on their size and may appear differently from each other.
3. Adjusting the Row Height in Google Sheets Using the Dialog Box to “Fit to data”
This is an alternative method to adjusting the size of a row by double-clicking.

Next, right-click on the row’s number box and go to ‘Resize row’.

This will show the resizing window. Select ‘Fit to data’ and hit OK.

This will automatically adjust your row (or rows for multiple selection) to automatically change its row height as it fits to its data.

This method, as with the double-click method, can be used to change the row height in Google Sheets of multiple rows at the same time.
4. Adjusting the Row Height in Google Sheets By Specifying the Height to Resize the Row
Other than eye-balling the height of your row or setting it up to auto-fit to its data, you can also set a definite height by doing this method.
Start with selecting the row that you wish to change the height of.

Right-click on the row’s number box to populate the context menu and go to ‘Resize row’.

This will show the Resize window. Change the ‘Specify row height’ value from its default value of 21 pixels and hit OK.

You will see right away that the cell will adjust to the new row height that you indicated.

This method can be applied to several rows at the same time.
Keep in mind that once you’ve specified the height of a row, it will retain that exact height even if you entered more lines or paragraphs in a cell.
Another way of making use of rows functionalities is to freeze rows. Knowing this, you can now lock rows and adjust their heights depending on your needs.
Frequently Asked Questions about How to Change the Row Height in Google Sheets
What is the default setting of row height in Google Sheets?
Before you change the row height in Google Sheets, all rows are set by default to the size of 21 pixels. At the same time, ‘auto-fit to data’ is enabled so whenever a cell’s text exceeds 21 pixels, it will automatically increase the entire row’s size.
Can I also change the size of columns in Google Sheets?
You can also change the size of columns the same way you change the row height in Google Sheets. You can either “click and drag”, specify its exact width, or set it to auto-fit to data.
Conclusion on How to Change the Row Height in Google Sheets
To change the row height in Google Sheets you can use the mouse to click and drag the lower edge of a row’s number box. You can auto-fit a row to its data by double-clicking on the lower edge of a row’s number box or by right-clicking and selecting ‘Resize row’ and then ‘Fit to data’ before hitting OK. Lastly, you may right-click on a row’s number box by right-clicking and selecting ‘Resize row’ and then ‘Specify row height’, change the value, and hit OK.

